PersonalizeWP and WS Form
PersonalizeWP integrates with WS Form to allow you to capture form data in your visitor profiles

What is WS Form?
WS Form is a flexible and powerful WordPress form builder plugin designed to help users create complex and customizable forms without writing code. WS Form is particularly known for its developer-friendly nature, giving more control over form behaviour and performance while remaining easy to use for non-technical users.
It competes with other popular form builders like Gravity Forms but is often praised for its flexibility and feature set.
Does PersonalizeWP integrate with WS Form?
Yes! WS Form integration is out of the box and provides users with the ability to map information captured in forms and associate it with Visitor Profiles.
There is also the ability to create custom Segments based on users completing forms and to create Lead Scores based on actions that your visitors take.
Using WS Form with PersonalizeWP
There are a number of ways in which you can use WS Form with PersonalizeWP to enhance user experience and change the content that visitors see.
Below are a number of examples of ways in which you can integrate, and you can also check out our Knowledge Base to find out more.
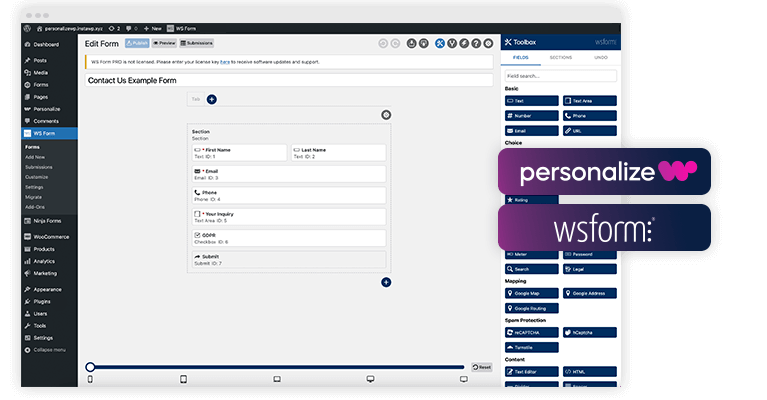
Map WS Form fields to Visitor Profiles
A key way to integrate WS Form with PersonalizeWP is by linking the data captured in your forms to Visitor Profiles.
Visitor Profiles are created as users browse your website, and their profile is continuously updated based on the pages they view or actions they take, giving you insights into their activity.
When a user submits a form, you may request their name and email address. By mapping this data to their profile, you can transform an anonymous profile into a known one, enabling you to better understand and engage with your visitors.
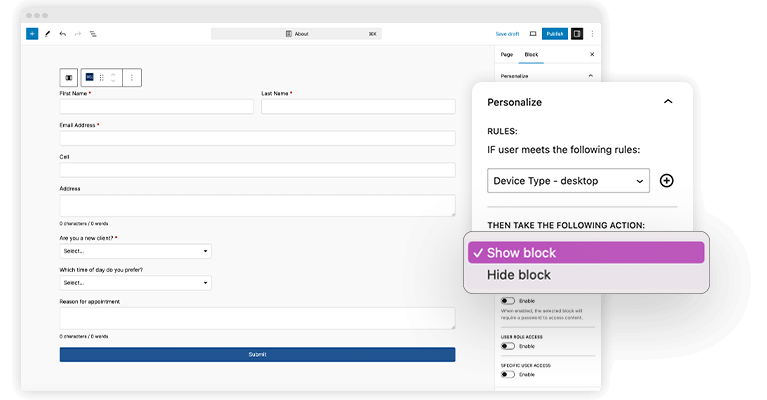
Showing or Hiding Forms
You can display or hide forms on your website using rules, segments, or lead scores. This is useful for showing forms to returning visitors or targeting users who meet specific criteria, such as being from a certain location, having a high lead score, or belonging to a particular segment. To manage personalized content visibility, select the block on the page and use PersonalizeWP controls to define the criteria a user must meet. Based on these settings, you can decide whether to show or hide the block.
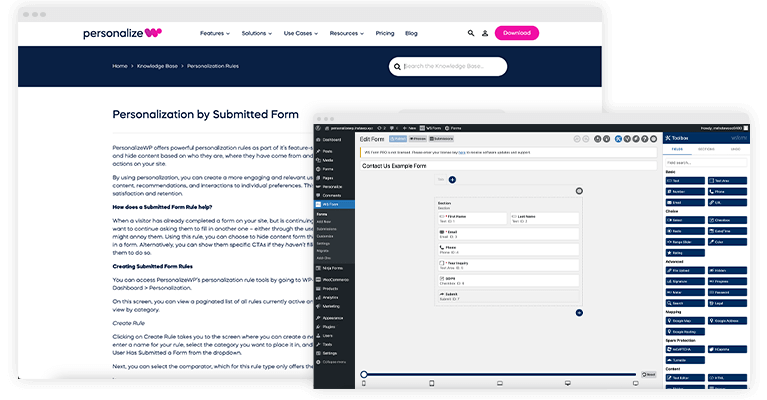
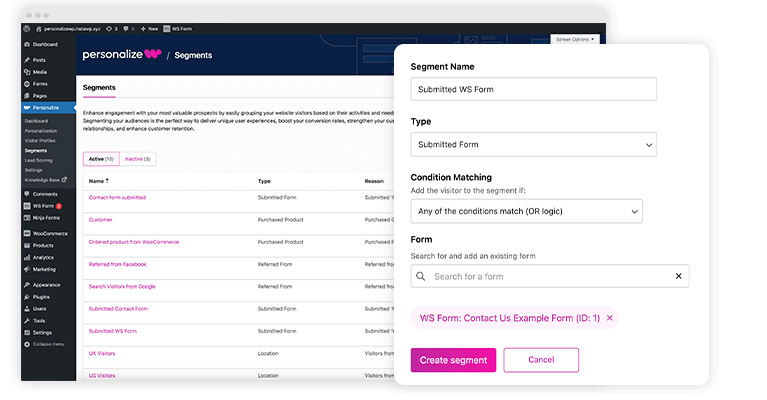
Using WS Form with Segments
With PersonalizeWP, you can create custom segments based on whether a visitor has submitted a specific form on your site.
You can include one or multiple forms in the segment, and use AND/OR conditions to determine if a visitor needs to meet all or just one of the criteria.
Once visitors are part of a segment, you can control content visibility, such as showing or hiding blocks based on their membership in that group. For example, if a visitor has already filled out a sales form, you can add them to a segment and hide the form block from them for the rest of their session or in future visits.
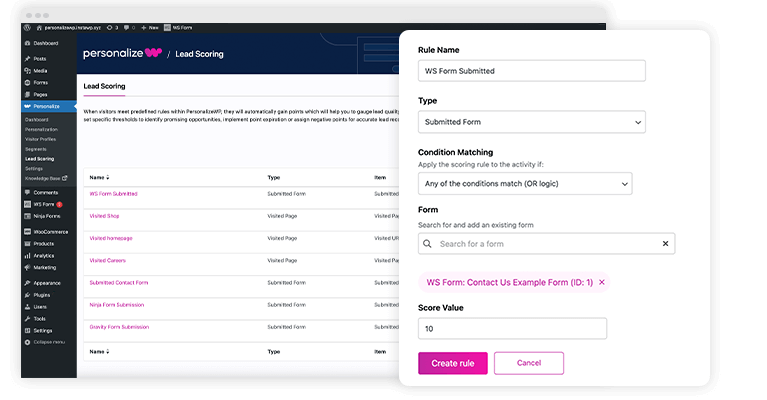
Adding Lead Scores for Forms
PersonalizeWP enables you to assign a lead score to visitors based on whether they have submitted a specific form.
You can include one or multiple forms in the scoring rule and choose between AND/OR conditions, depending on whether you want the visitor to meet all or just one of the criteria.
Within the rule, you can set a positive or negative score to be automatically applied to the visitor’s profile when the conditions are met.
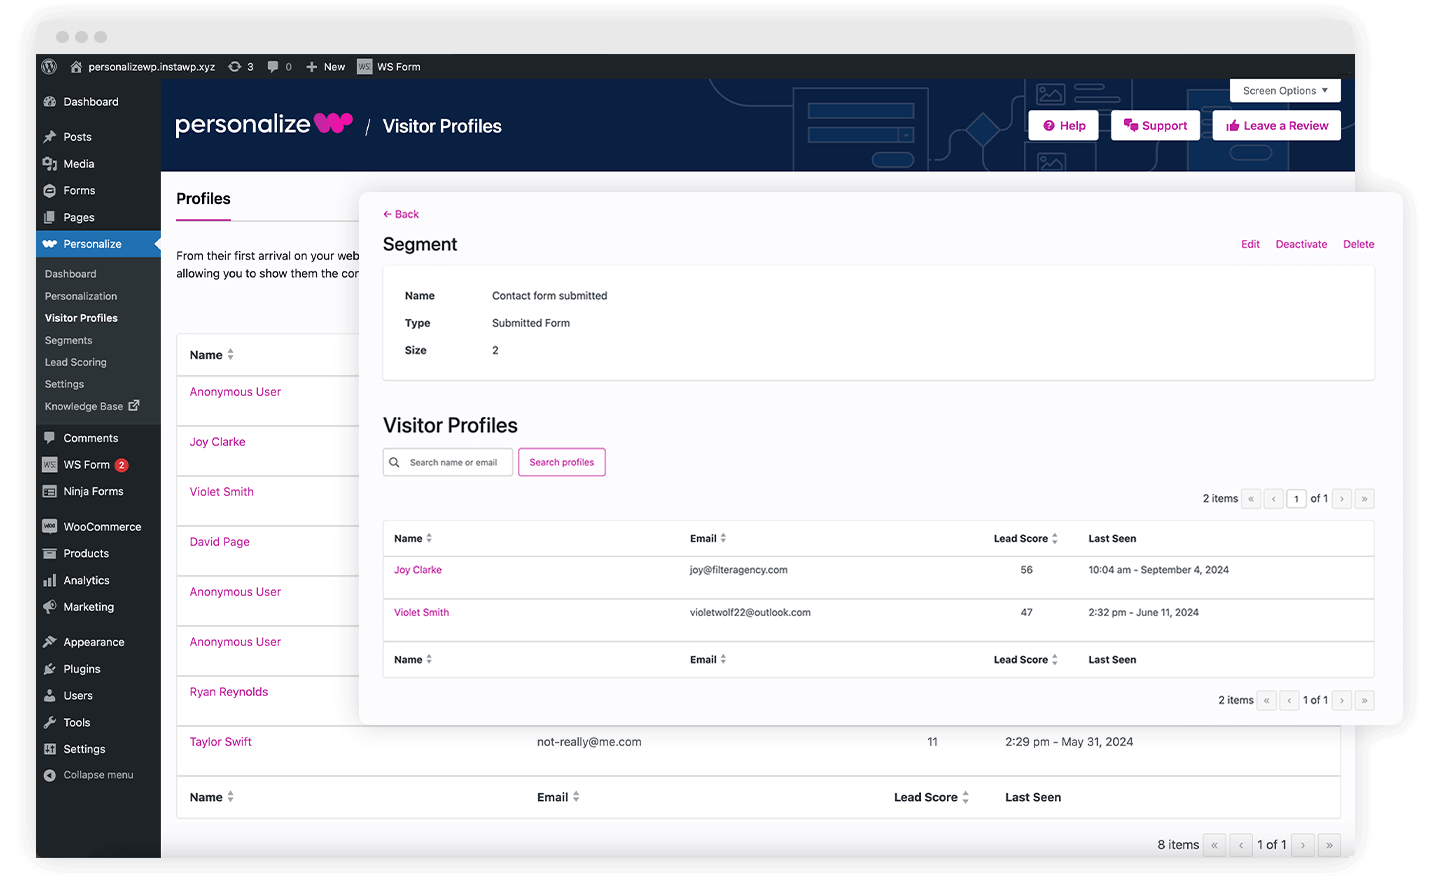
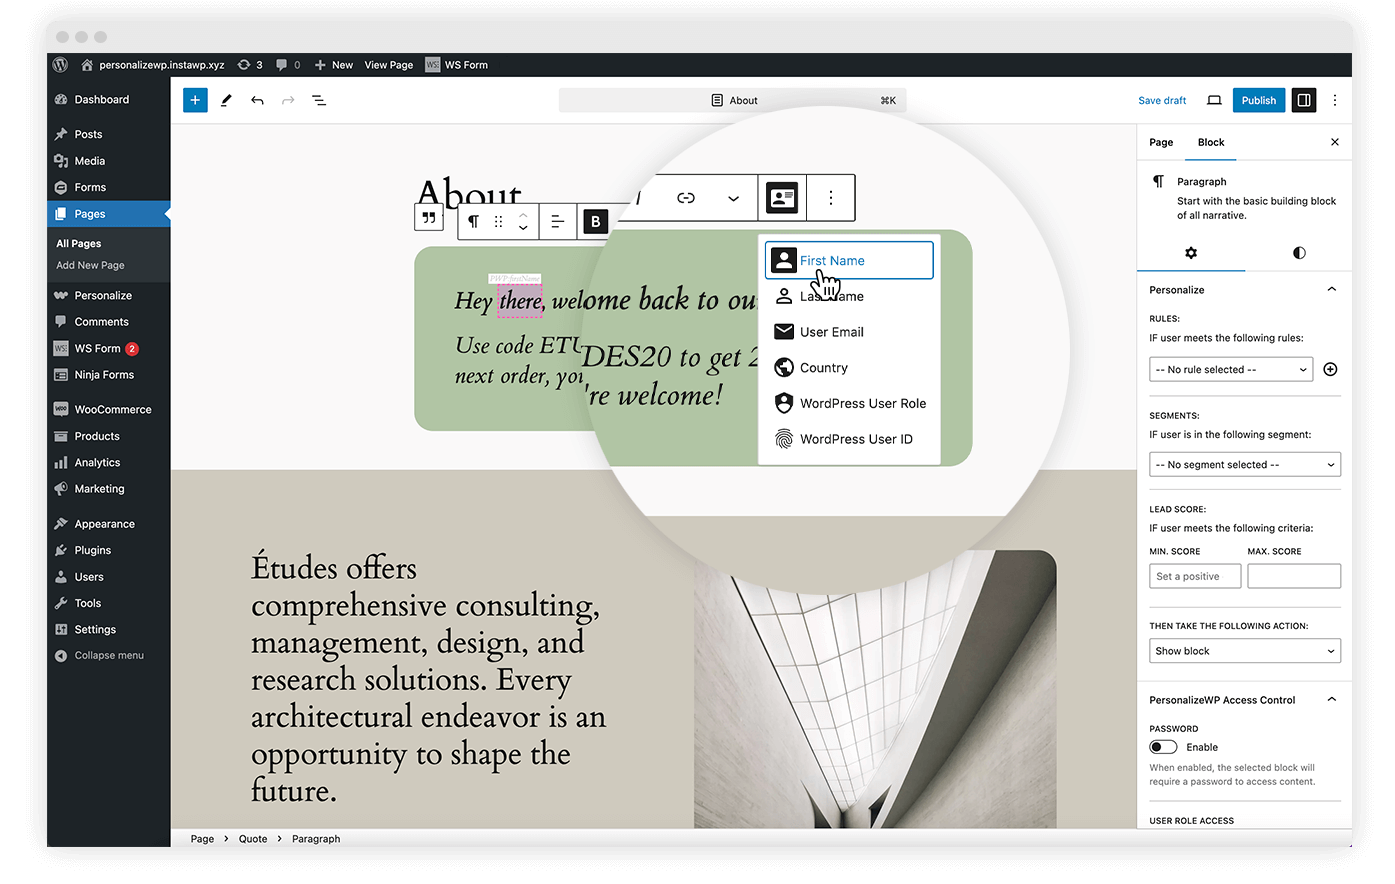
Using WS Form data in your blocks
Once you have mapped your form data to your visitor profiles, you can display visitor data from those profiles in your website blocks.
When you have the Pro version of PersonalizeWP installed, you will see a new dropdown menu available in the Block Editor:
This feature allows you to select text in your block, and replace it (if it exists) with data from a visitor profile. For example, you want to insert the visitor’s name into a welcome section to personalize the content they see.
Want to see it in action? Try out PersonalizeWP now…
If you just want to play around with the plugin, you can do that straight away – click on the button and we’ll spin up a new site with it installed and ready for you to test….