How to Set Up and Use Custom Profile Fields in PersonalizeWP
Want to make your website more personalized? Our Custom Profile Fields let you collect visitor data and tailor content based on their preferences.
Personalization is at the heart of an engaging website experience, and with PersonalizeWP's Custom Profile Fields, you can tailor content based on visitor preferences, behaviors, and form submissions. This guide will walk you through setting up and using Custom Profile Fields to enhance your marketing strategy.
What You'll Learn
- How to create and manage Custom Profile Fields
- How to map form data to visitor profiles
- How to display personalized content based on profile data
- How to insert visitor data directly into content blocks
- Where Custom Profile Fields data is stored in WordPress
What are Custom Profile Fields?
Custom Profile Fields allow you to capture, store, and utilize visitor data to enhance personalization on your site. Whether tracking event preferences, interests, experience levels, or customer goals, these fields help shape dynamic, data-driven content experiences.
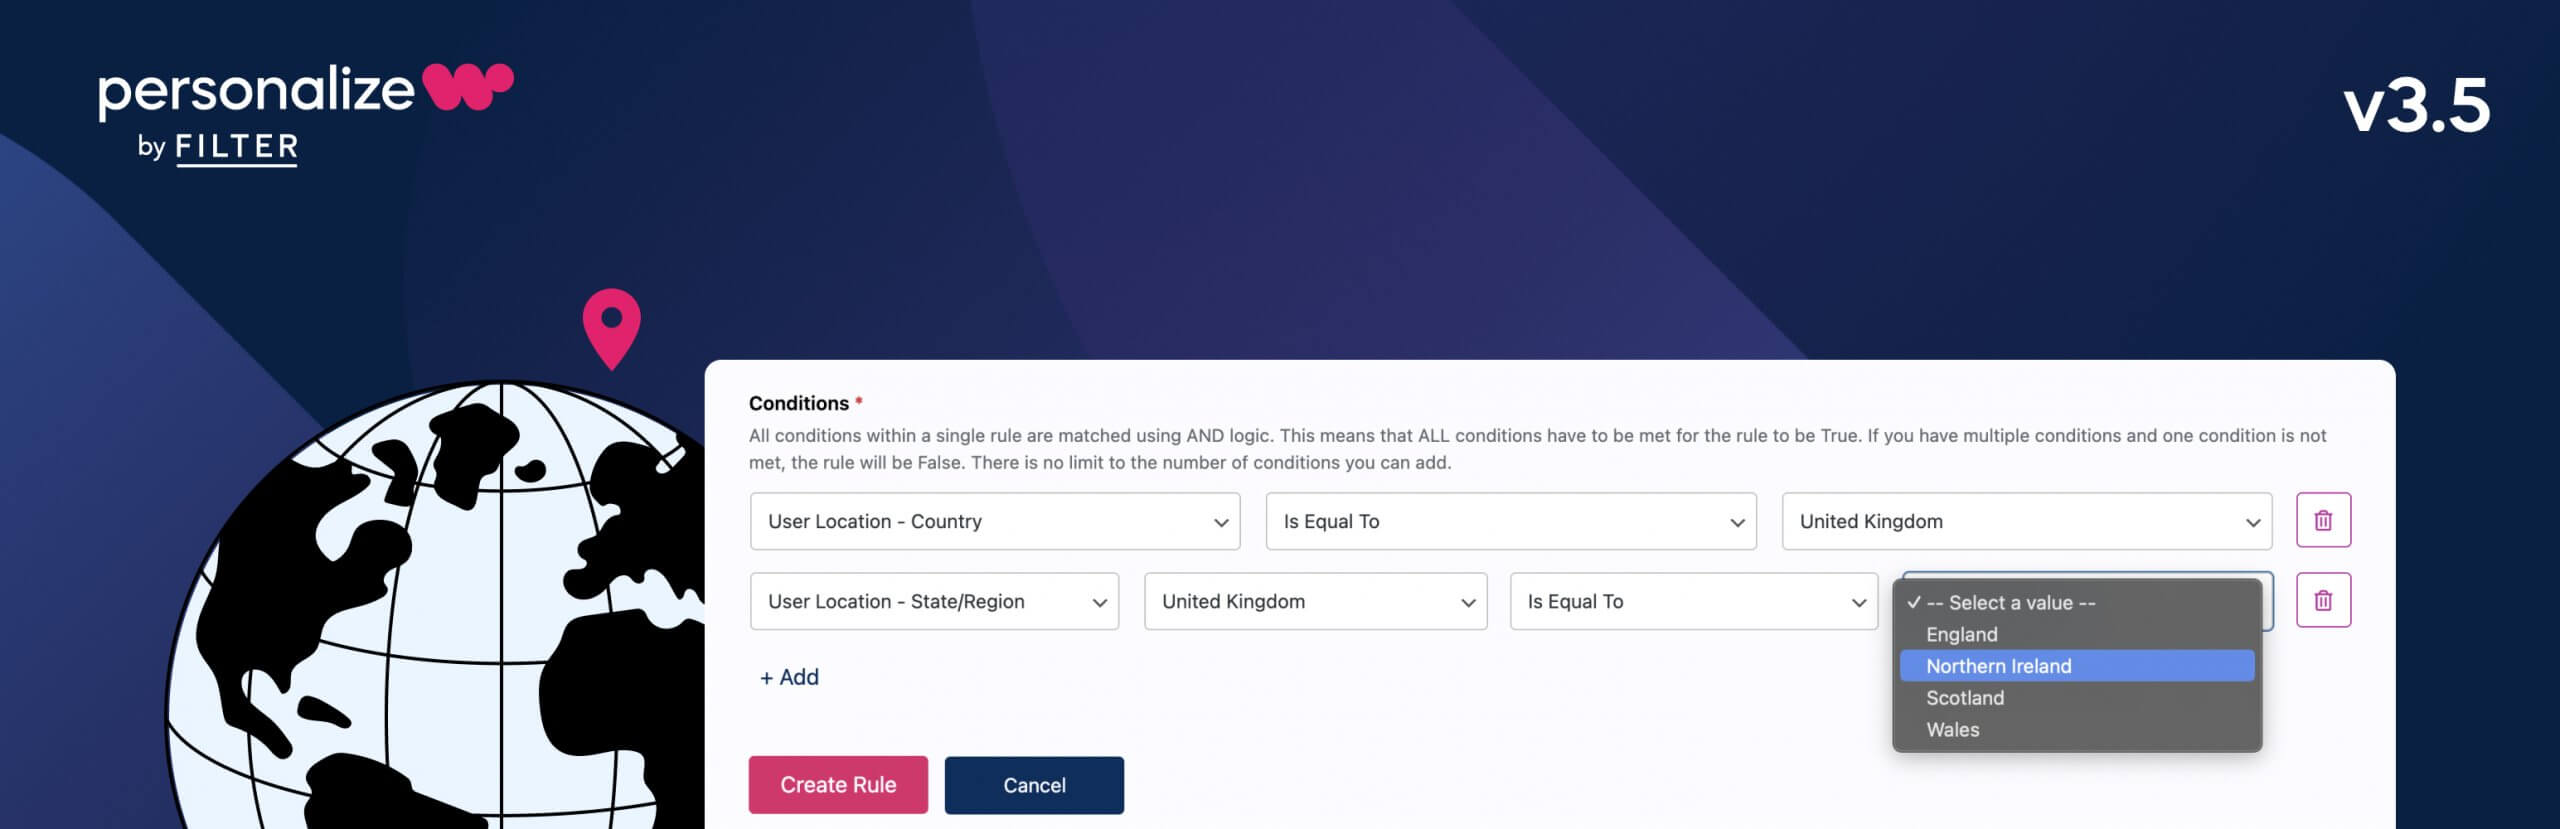
For example, if a visitor selects "Webinar" as their Preferred Event Type, you can ensure they see content related to upcoming webinars instead of in-person events.
Step 1: Adding Custom Profile Fields
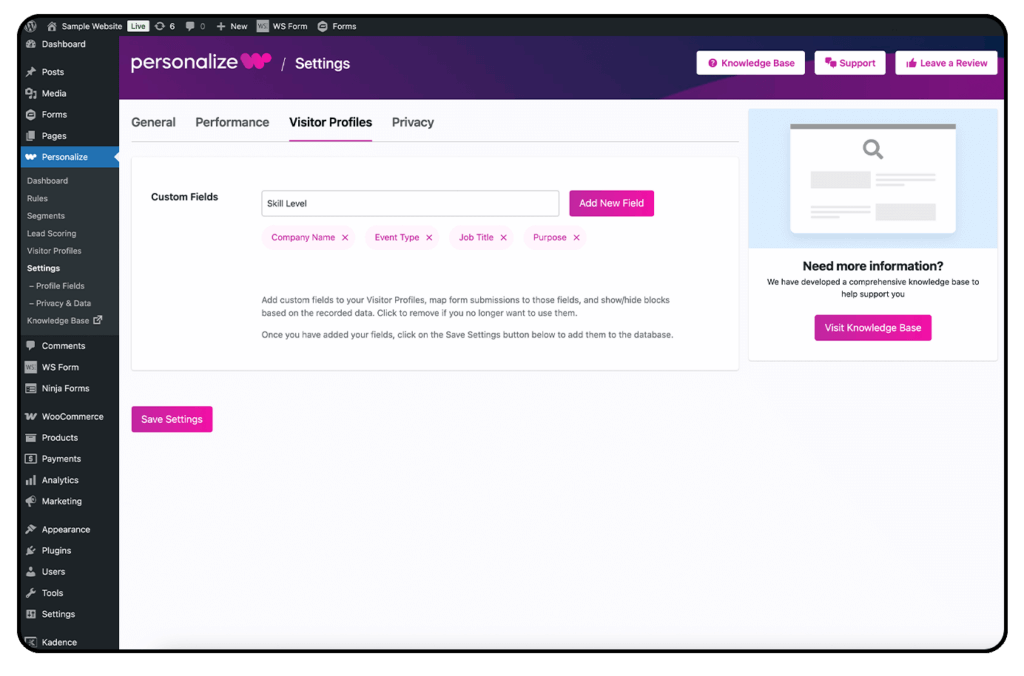
1. Navigate to Settings
In your WordPress admin panel, go to PersonalizeWP > Settings.
Click the Visitor Profiles tab.
2. Create New Fields
Enter a label name (e.g., "Industry" or "Skill Level").
Click Add New Field – your new field will now appear in the list below.
3. Save Settings
Once you've added all necessary fields, click Save Settings to apply your changes.
Your fields are now ready to store visitor data!
Step 2: Mapping Form Data to Profile Fields
rnTo populate your custom fields with real visitor data, you need to map form submissions to these fields. Here’s how:
1. Use a Supported Form Plugin
PersonalizeWP integrates with Gravity Forms, WSForms and other popular form builders.
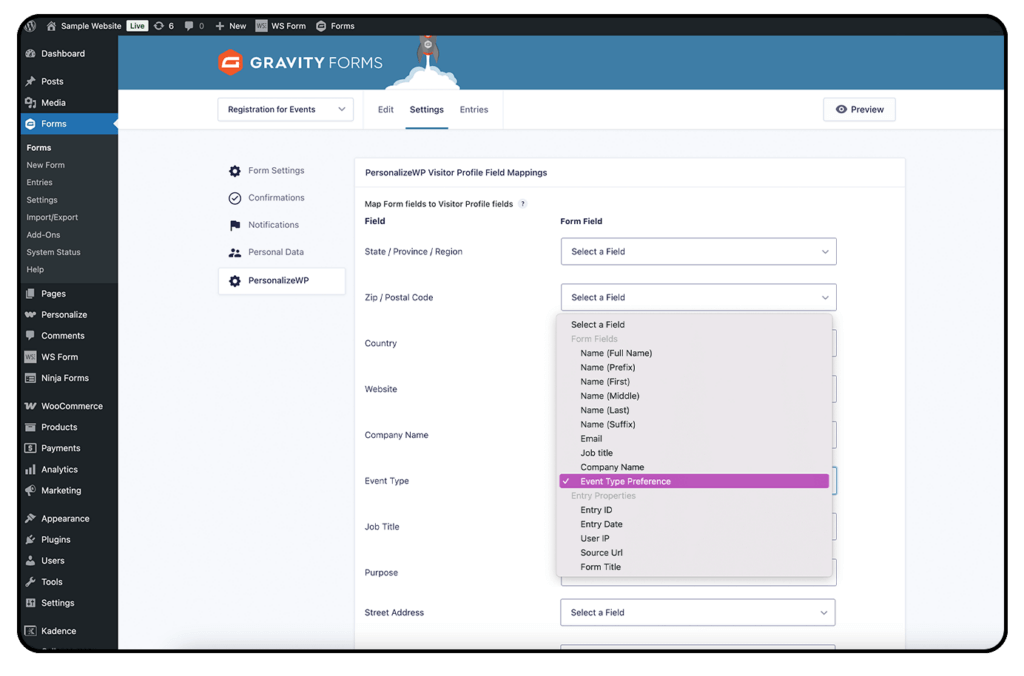
2. Configure Field Mapping
Open the settings for your chosen form.
Locate the PersonalizeWP integration option.
Map the form fields to their corresponding Custom Profile Fields.
For example, if a visitor fills out a form selecting their Pet Type, you can map that field to a Pet Type profile field.
3. Save and Apply Changes
Click Save Settings to store your mappings.
Now, when visitors submit this form, their data will be saved in their profile.
Step 3: Using Profile Fields for Content Personalization
rnOnce your visitor data is stored, you can use it to personalize content blocks in WordPress.
1. Go to the Block Editor
Select the content block you want to personalize.
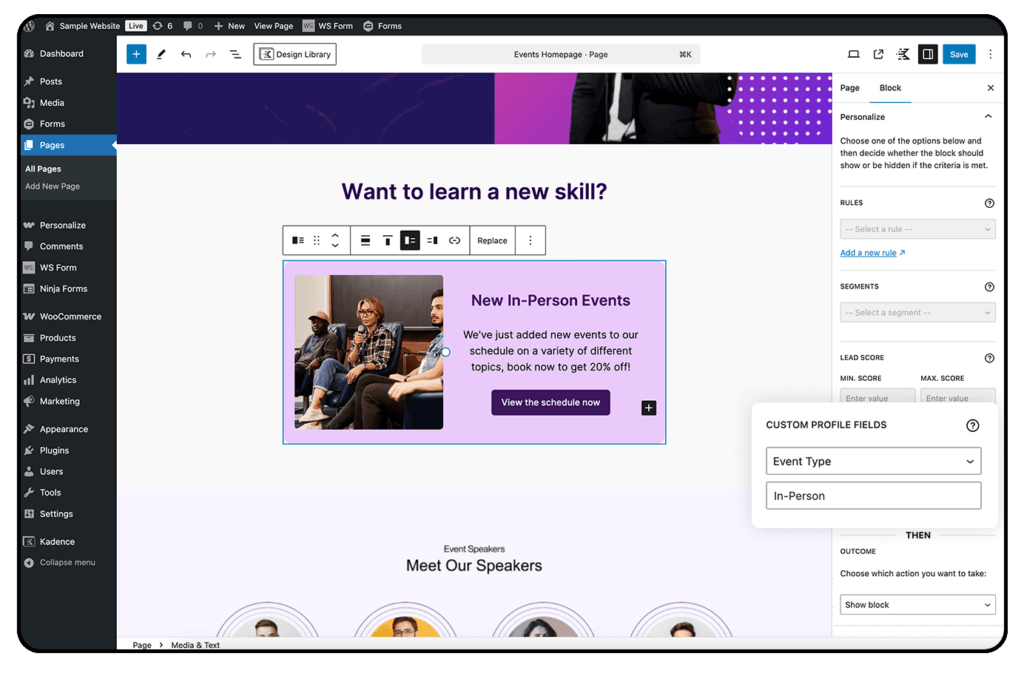
2. Set a Display Condition
In the PersonalizeWP sidebar, choose Custom Profile Fields.
Select a profile field (e.g., "Event Type").
Enter a value (e.g., "In-Person").
→ Now, only visitors who chose in-person events as their preference will see this block.
Use Profile Fields in Content
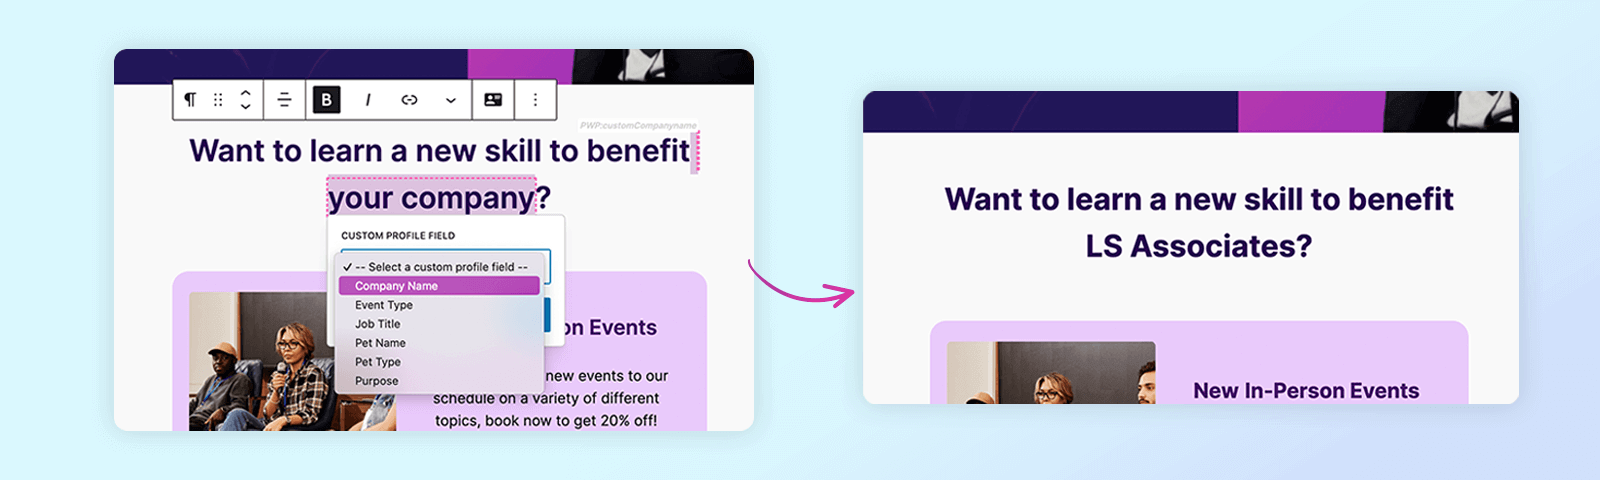
rnYou can also insert visitor data directly into your content to make it feel more personal.
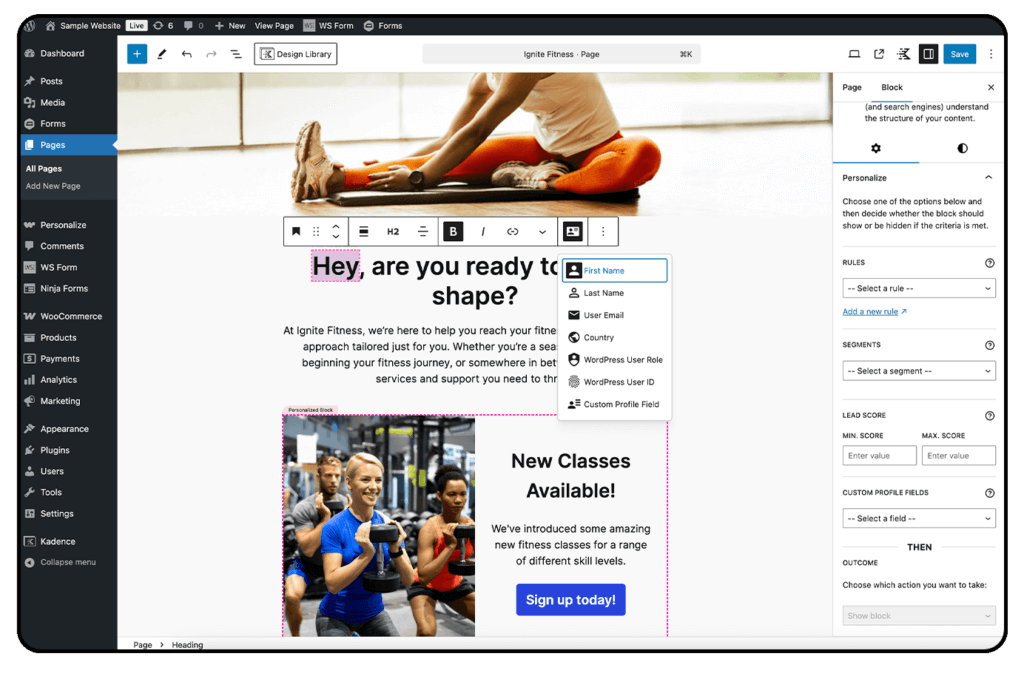
1. Highlight Text in the Block Editor
2. Click the Profile Icon
3. Select a Custom Profile Field (e.g., "First Name")
4. Apply Changes
Example: Instead of generic text like "Hello, visitor!", you can display "Hello, Sarah!" for users who have submitted their name.
Step 4: Viewing Visitor Profile Data
rnTo see collected visitor data:
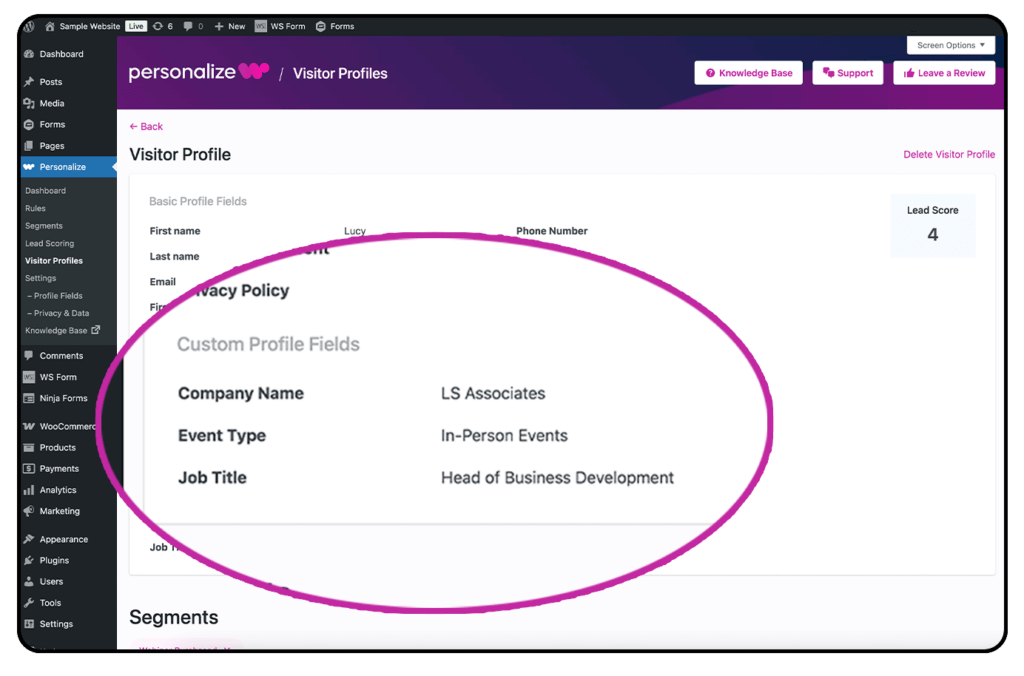
1. Go to PersonalizeWP > Visitor Profiles
2. Click on a Visitor Profile
3. View the Custom Fields Data
Here, you’ll see all stored information, giving you insights into user preferences and behaviors.
Custom Profile Fields in Action: Real-World Use Cases
Custom Profile Fields let you collect visitor data and use it to create tailored website experiences. Here’s how different businesses can leverage them to boost engagement and conversions:
1. B2B Companies – Targeted Content for Leads
Not all business visitors are the same – CEOs, marketers and IT professionals each have different needs. By capturing a visitor’s job role or specific industry, you can show them more relevant content.
✅ A CEO might see ROI-driven case studies, while a marketer gets strategy guides.
✅ A tech company visitor could be shown IT-focused solutions, while a healthcare professional sees compliance content.
2. Ecommerce Stores – Personalized Product Recommendations
Customers are more likely to buy when they see products that match their interests. Using profile fields like favorite brands or preferred style, you can tailor their shopping experience.
✅ A visitor who previously bought running shoes can see recommendations for workout gear.
✅ Someone who browses skincare products might be shown a custom bundle based on their brand preference.
3. Event Companies – Custom Invitations and Promotions
Not every visitor is interested in the same type of event. By tracking preferred event types and location, you can personalize invitations and promotions.
✅ A visitor who prefers webinars will see upcoming online events instead of in-person conferences.
✅ Someone based in New York will get invitations to local events rather than irrelevant global ones.
Get Started with Custom Profile Fields Today!
By using Custom Profile Fields in PersonalizeWP, you can create tailored user experiences that boost engagement and conversions. Whether you’re personalizing event invitations, content recommendations, or call-to-action messages, these fields provide endless possibilities.
Start setting up your Custom Profile Fields today and unlock the full power of website personalization!