How to Combine Display Conditions for Maximum Impact
Want to boost engagement and conversions? Combining display conditions lets you deliver ultra-targeted content that speaks directly to each visitor.
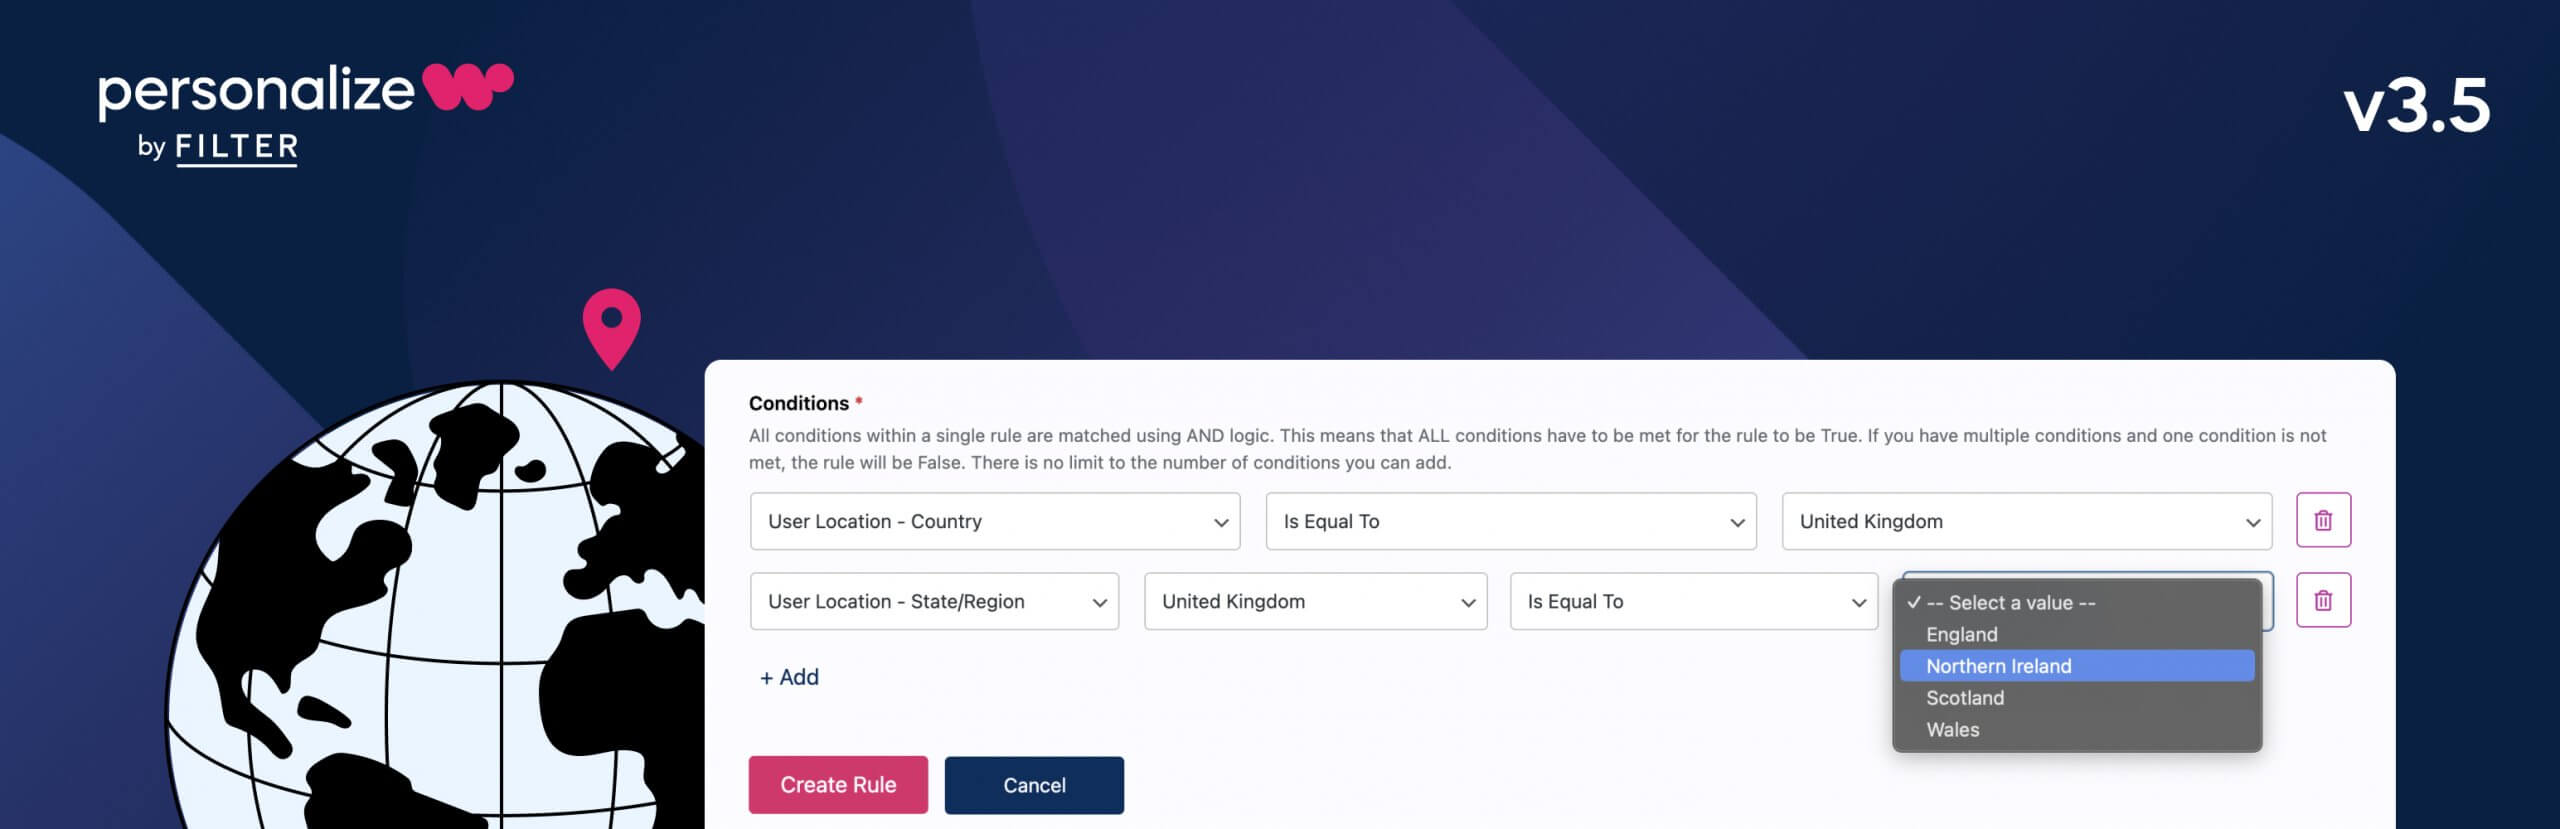
Personalization is most powerful when it’s precise. With PersonalizeWP’s Display Conditions, you can show or hide content based on a wide range of visitor attributes – like location, visit time, referral source and more. But the real magic happens when you combine multiple conditions to create smart, layered experiences.
This guide will show you how to stack conditions together for greater personalization and impact.
What You'll Learn
- How to set up multiple display conditions in a single content block
- Best practices for combining rules
- Use cases for powerful personalization
- Real-world examples for inspiration
What Are Display Conditions?
Display Conditions let you control who sees specific content on your WordPress site. You can show or hide content blocks based on visitor behavior, characteristics or activity – no coding required.
Commonly used conditions include:
- New vs. returning visitor
- Date, time, or day of the week
- Location or language
- Referral source (social, search, email, etc.)
rnBut here’s where it gets even better: You can combine multiple conditions to target specific scenarios – like a returning visitor from New York on a Friday afternoon who clicked through from an email.
Step 1: Add a Content Block You Want to Personalize
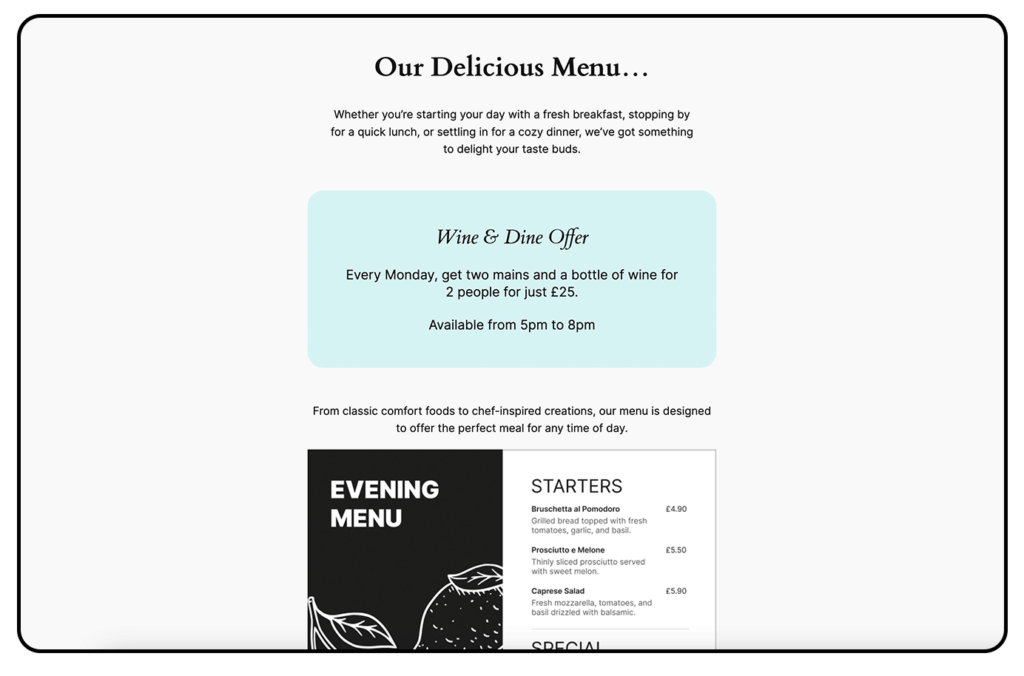
rnLet's say you are a restaurant and you want to add blocks focusing on your daily specials.
In the WordPress Block Editor, add the content block or section you want to personalize.
This could be a heading, button, image, call-to-action or even an entire layout section.
Step 2: Open Display Conditions in the Sidebar
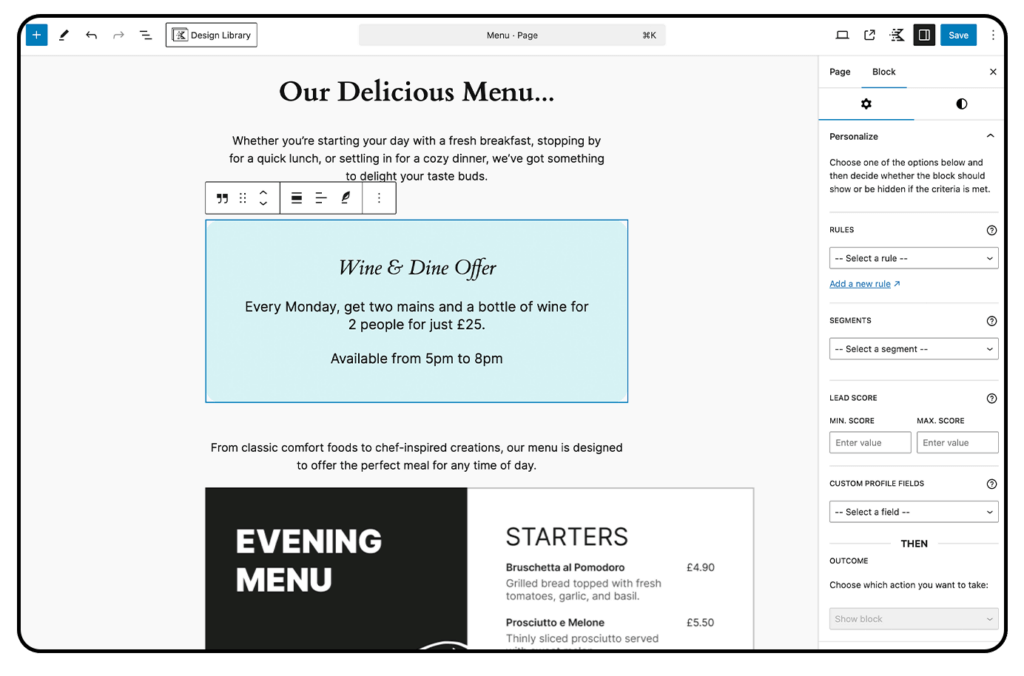
rnSelect your block.
In the right-hand sidebar, locate the PersonalizeWP section.
Click “Add Display Condition”.
Step 3: Add and Combine Conditions
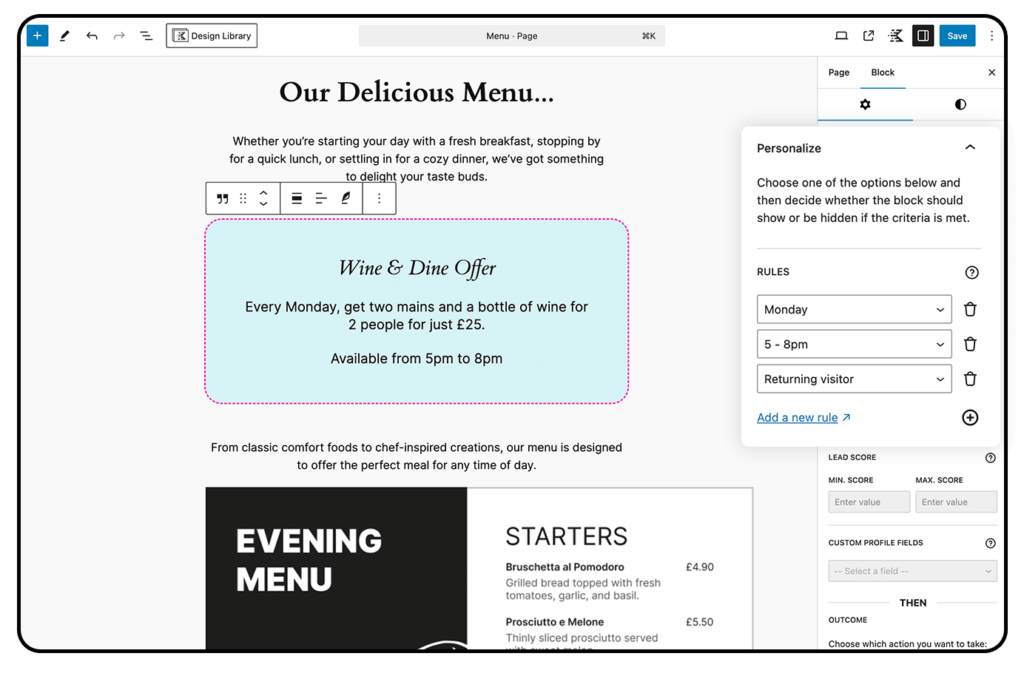
rnChoose your first condition – for example we want this block to be shown on a Monday, so we'll select the Monday rule.
To add more display conditions, simply click the + symbol and choose more rules from the dropdown menu.
This will help you to narrow down your audience.
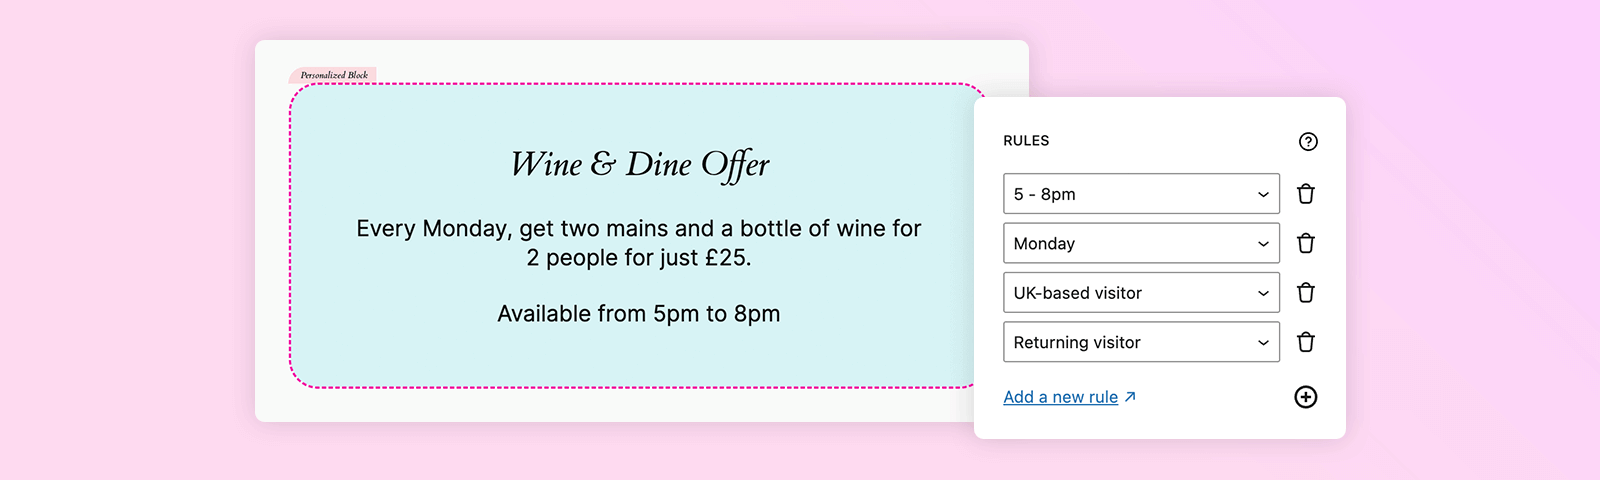
In this instance, we want to select the rule for '5 – 8pm' and then 'Returning visitor'.
As a result, this block will be shown on Mondays, between 5pm and 8pm and only for returning visitors. This will encourage people who have previously visited your website to check out your daily specials.
Step 6: Save and Test
rnOnce your conditions are set, click Save to publish your changes.
Visit the page and confirm that only matching visitors will see your personalized content.
Best Practices for Combining Conditions
Start simple: Combine two to three conditions to begin with – like “Returning Visitor + Time of Day.”
Use behavior-based rules: Target by activity like form submissions, product purchases, or dwell time for higher relevance.
Pair rules with segments: Use audience segmentation to group users by behavior, then apply rules to those segments.
Consider timing: Display different content during business hours vs. weekends or after-hours.
Always test: Preview your setup and simulate visitor journeys to make sure everything works smoothly.
Combined Display Conditions in Action
Here are a few real-world examples to inspire your setup:
1. Ecommerce Promo for High-Spenders
Total Spend > £200 – Targets your most valuable customers who have already made significant purchases.
New Product Launch Date = Today – Ensures the message is timely and relevant to your latest offering.
Time of Day = Morning – Captures users when they’re most likely to engage with fresh content or offers.
✅ Personalization Example:rnShow a special thank-you message just for high-spending customers, paired with early access to a product launch and an exclusive discount. This approach rewards loyalty and increases the likelihood of repeat purchases – especially when timed for peak engagement hours.
2. Local Event Promotion
Display Conditions:
Location = New York – Narrows down your audience to those physically near the event.
Day of Week = Friday – Targets users who are more likely to be planning weekend activities.
Referrer = Instagram – Focuses on social visitors who are already in discovery mode and open to exploring events.
✅ Personalization Example:rnPromote an upcoming NYC-based weekend event to users currently in the area who landed on your site from Instagram on a Friday. This creates a sense of immediacy and relevance, making them more likely to RSVP or buy tickets.
3. Lead Nurturing for Returning Visitors
Display Conditions:
Returning Visitor – Targets users already familiar with your brand, who may be closer to converting.
Visited “Pricing” Page – Indicates purchase intent or at least serious interest.
Lead Score > 10 – Filters for qualified leads who have taken multiple actions on your site.
✅ Personalization Example:rnInstead of showing generic homepage content, display a tailored case study or success story that addresses common objections and encourages action. This setup is perfect for B2B lead nurturing, helping guide warm leads further down the funnel with highly relevant proof points.
Ready to Combine Conditions and Boost Engagement?
Combining display conditions is a game-changer for delivering personalized content that drives results. Whether you're targeting specific audiences by behavior, location or visit timing, PersonalizeWP gives you the tools to do it easily.
Get started by taking a look at our pricing and install PersonalizeWP today! Start building smarter, more targeted experiences, your visitors (and conversion rates) will thank you.